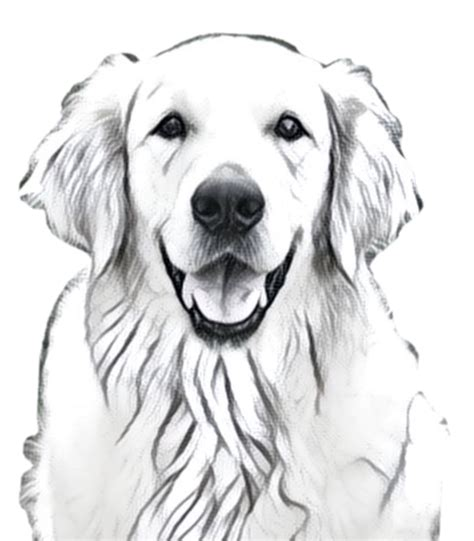
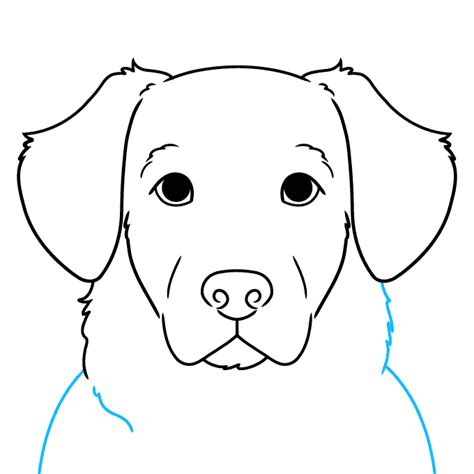
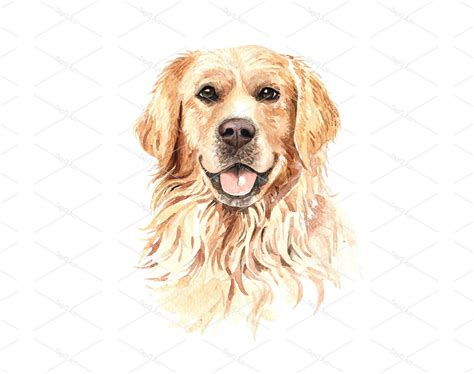
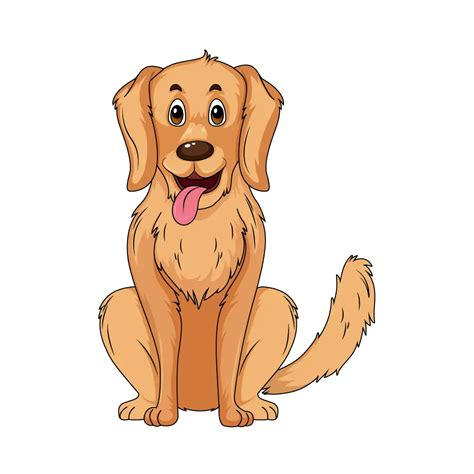
Drawing a realistic golden retriever can be a rewarding experience for artists of all skill levels. This comprehensive guide will walk you through the process step by step, helping you create a lifelike portrait of this beloved breed. Whether you're a beginner or an experienced artist looking to refine your skills, this tutorial will provide valuable insights and techniques for drawing a realistic golden retriever.
Materials Needed
Before we begin our step-by-step guide on how to draw a realistic golden retriever, let's gather the necessary materials:
- Drawing paper (preferably heavyweight)
- Pencils (HB, 2B, 4B, 6B)
- Kneaded eraser
- Blending stumps
- White gel pen or white colored pencil
- Reference photo of a golden retriever
Step-by-Step Guide: How to Draw a Realistic Golden Retriever

Step 1: Sketch the Basic Shapes
To start drawing a realistic golden retriever, begin with basic shapes:
- Draw a large circle for the head
- Add an oval for the body
- Sketch smaller circles for the muzzle and eyes
- Draw triangles for the ears
Step 2: Refine the Outline
Now that we have the basic shapes, let's refine the outline of our golden retriever:
- Connect the head and body with smooth curves
- Define the shape of the legs and paws
- Add the tail
- Refine the ear shapes

Step 3: Add Facial Features
In this step, we'll focus on the face of our realistic golden retriever:
- Draw almond-shaped eyes
- Add a round nose
- Sketch the mouth and lips
- Define the eyebrows and forehead
Step 4: Begin Shading
Now it's time to start adding depth and dimension to our golden retriever drawing:
- Use an HB pencil to lightly shade the entire body
- Darken areas where shadows would naturally fall (under the chin, belly, etc.)
- Begin adding fur texture with short, light strokes

Step 5: Enhance Fur Texture
To make our golden retriever look more realistic, we need to focus on the fur texture:
- Use a 2B pencil to add more defined fur strokes
- Pay attention to the direction of fur growth
- Vary the pressure to create depth and volume
Step 6: Refine Details
Let's focus on refining the details of our realistic golden retriever:
- Add more defined fur around the ears and face
- Darken the eyes and nose
- Enhance the paws with individual toes and fur tufts

Step 7: Add Highlights
To make our golden retriever drawing truly pop, we'll add highlights:
- Use a kneaded eraser to lift out highlights in the fur
- Add white gel pen or colored pencil for eye reflections and fur shine

Step 8: Final Touches
In this last step, we'll put the finishing touches on our realistic golden retriever drawing:
- Blend any harsh lines with a blending stump
- Adjust contrast as needed
- Add any final details or textures
Tips for Drawing a Realistic Golden Retriever
To further enhance your skills in drawing a realistic golden retriever, consider these tips:
- Study golden retriever anatomy
- Use reference photos for accurate proportions
- Practice drawing individual features (eyes, nose, paws) separately
- Pay attention to the unique characteristics of golden retrievers (coat texture, facial expressions)
Common Challenges When Drawing a Realistic Golden Retriever
When learning how to draw a realistic golden retriever step by step, you may encounter some challenges. Here are some common issues and solutions:
| Challenge | Solution |
|---|---|
| Capturing fur texture | Practice different pencil strokes and vary pressure |
| Achieving realistic eyes | Focus on reflections and subtle color variations |
| Proportions | Use guidelines and measure relative sizes |
| Creating depth | Master shading techniques and use a range of pencil grades |
Frequently Asked Questions
Q: How long does it take to draw a realistic golden retriever?
A: The time required can vary depending on your skill level and the level of detail. Beginners might take several hours, while experienced artists could complete a drawing in 1-2 hours.
Q: What's the best paper for drawing a realistic golden retriever?
A: Heavy-weight drawing paper or bristol board works well for detailed pencil drawings. These papers can withstand multiple layers and erasing without damage.
Q: How can I make my golden retriever drawing look more realistic?
A: Focus on accurate proportions, pay attention to fur texture and direction, and use a range of values to create depth and dimension.
Q: Are there any specific techniques for drawing golden retriever fur?
A: Use short, overlapping strokes to create the appearance of fur. Vary the pressure and direction of your strokes to mimic the natural flow of a golden retriever's coat.
Conclusion
Learning how to draw a realistic golden retriever step by step is a rewarding process that requires patience and practice. By following this comprehensive guide and implementing the tips provided, you'll be well on your way to creating stunning portraits of these beloved dogs. Remember, the key to improvement is consistent practice and observation. Keep refining your skills, and soon you'll be drawing realistic golden retrievers with confidence and ease.
Whether you're an aspiring artist or simply looking to capture the essence of your furry friend on paper, mastering the art of drawing a realistic golden retriever is a valuable skill. With dedication and the right techniques, you'll be able to create beautiful, lifelike drawings that capture the warmth and personality of these wonderful dogs.
So grab your pencils, find a great reference photo, and start your journey to becoming a master at drawing realistic golden retrievers. Happy drawing!
